Dealing with a crooked printing issue on your printer can be frustrating, especially when you’re in the middle of important work. In this article, we will explore some easy fixes to address this problem. Encountering a crooked printing issue with your printer can be a major inconvenience, especially when you’re in the middle of important tasks.
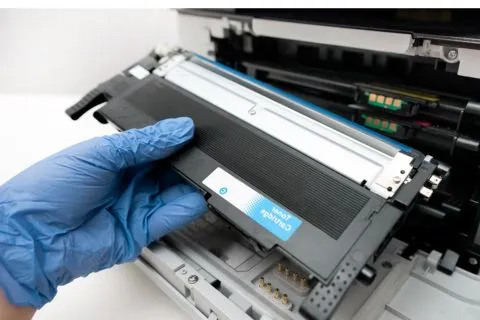
One possible cause of the crooked printing issue could be a misaligned cartridge.
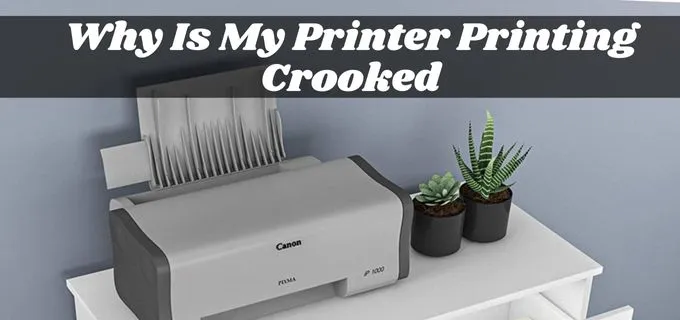
Why Is My Printer Printing Crooked
In this technical guide, we will share some solutions and fixes to address printing crooked, along with additional methods to ensure precise and accurate printing.
Printing crooked or misaligned documents can be frustrating and can result in poor print quality. There are several potential reasons why your printer may be printing crooked, and understanding these causes can help you troubleshoot and fix the issue effectively. Here are some common reasons why your printer might be printing crooked:
1: Paper Alignment – How to Fix Printer Alignment HP
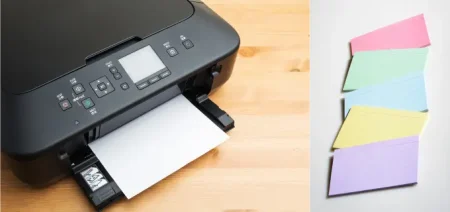
Improper paper alignment is One of the most common causes of crooked printing. Ensure that the papers are fed straight and not inserted crookedly into the paper tray. Simply ensure that the paper placed in the printer tray is adjusted correctly to match the paper’s width.
Loose paper trays can also lead to misalignment, so make sure the tray fits securely.
Before proceeding with any repairs, thoroughly clean the paper tray to remove any dust or debris that may interfere with the paper’s smooth movement.
2: Perform a Test Print
To determine if the issue originates from the Automatic Document Feeder (ADF) or the computer, follow these steps:
- Print a test page and carefully inspect the output for any distortions or misalignments.
- If the test page appears fine, try making a copy using the ADF with the test page face up.
- Adjust the paper guides in the ADF to match the width of the test page, ensuring that the document feeds straight.
- Avoid using wrinkled, folded, or damaged documents, and ensure that the documents are completely dry with no ink smudges.
- Ensure the paper used matches the recommended size and is correctly installed.
Check the alignment of the back paper guide in the paper tray.
3: Realignment of the Printer
If the cartridge alignment is off, it can lead to misprinting issues. To realign the cartridge, follow these steps:
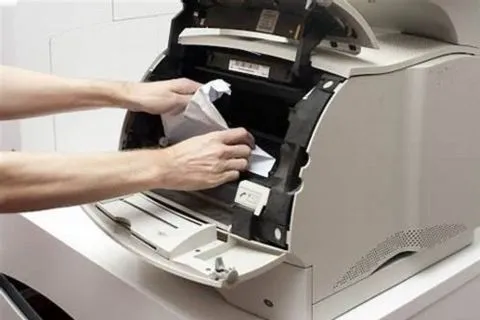
- Remove the duplexer and carefully check for any paper jams. Clear any obstructions found.
- Reinsert the duplexer securely after cleaning off any dust or debris.
- To align the printer, access the settings menu, find “Tools,” and select “Align Printer.”
- Wait a few minutes for the alignment process to complete.
Then, print a document to check if the issue is resolved.
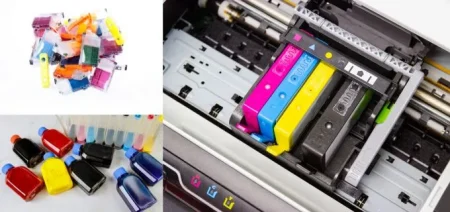
4: Use Original Cartridges
Using third-party ink cartridges may lead to printing problems, including crooked prints. To prevent problems, only use genuine HP ink cartridges made specifically for your printer model.
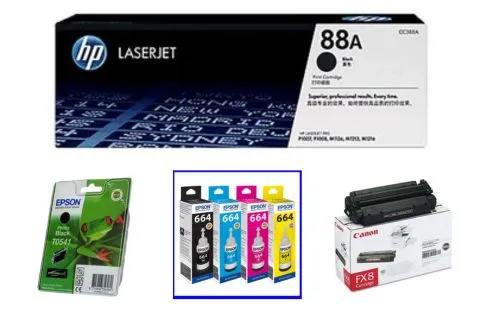
Visit the official HP website to find compatible cartridges for your printer. Beware of counterfeit products, and verify the authenticity of the cartridges using the provided QR code or the HP verification page with the printer’s serial number.
5: Align the Printhead
Achieving precise and consistent printing results heavily relies on proper calibration. Calibrating the printer ensures that it accurately positions the print heads and applies ink or toner at the right locations on the paper, resulting in high-quality prints that meet your expectations. Refer to the printer’s manual for the specific calibration process, as different models may have varying methods. The calibration option is usually available in the printer’s settings or tools menu.
6: Reinstall the Printer Driver
Obsolete or corrupted printer drivers can give rise to a range of printing problems, one of which includes producing crooked prints.
Reinstalling the printer driver often resolves such problems. Follow these steps:
- Access the Device Manager by searching for “Device” in the search menu.
- Expand the Device Manager and locate the Print Queues option.
- Right-click on the problematic printer and choose “Uninstall device,” confirming the action.
- Restart your system to allow Windows to automatically reinstall the printer driver.
If the problematic printer driver is not automatically detected after the restart, go to the Device Manager, select the Actions section, and choose “Scan For Hardware Changes.”
7: Check for Mechanical Issues
Sometimes, mechanical problems within the printer can cause crooked printing. Carefully inspect the printer’s internal components, such as rollers and paper path, for any obstructions, debris, or damage.
8: Update Firmware and Software
Additionally, check for firmware or software updates for your printer model. Manufacturers often release updates to improve printing performance and address common issues.
Conclusion
By following these solutions and additional methods, you should be able to resolve the annoying crooked printing issue with your printer. If the issue persists, seek help from the printer’s customer support or consult a professional for further assistance. Remember to always maintain your printer and use genuine ink cartridges to ensure optimal printing performance.