Are you looking to get your printer connected wirelessly? You don’t need to be an expert to set up a wireless printer. With the right steps and information, you’ll be able to connect your printer quickly and easily.
Setting Up Wireless Printer
Wireless printers are quite easy to use, even if you are new to them. Setting up a wireless printer can save time, space, and money by eliminating the need for wires, cables, or any other physical connection. This blog post will cover the various ways to connect a wifi printer to your laptop and how to add your printer to your Mac.
In this guide, we will explain how you get your printer to connect wirelessly in different ways, such as how to connect a laptop with a wireless network and how to add a wireless printer for Mac users. So let’s begin!
Understanding Wireless Printers
Before starting the setup process, it’s important to understand what makes wireless printers unique. Wireless printers are typically connected via Wi-Fi or Bluetooth technology. Wi-Fi is the most popular method for printing wirelessly as it allows multiple devices on the same network to print from the same printer.
Bluetooth technology requires only one device at a time but is helpful when you don’t want others on the same network to have access to your printing needs.
We will start our guide by setting up on the laptop. Connecting a laptop to a printer is quite simple, and we will share a step-by-step guide to it.
How do I get my printer to connect wirelessly On Windows Laptop?
First, you need to ensure that you have a wireless router installed in your home or office where you want to install your printer.
You can connect the wifi printer wirelessly to the laptop using two common ways.
One way to connect a wifi printer is a wifi direct, and the 2nd way to connect the printer is by using a wifi router or a WPS method.
How do I get my printer to connect wirelessly with Wifi Direct?
If your wifi printer does not support network printing, you can still connect it to different smart devices using the wifi direct. To connect the home wireless printer using wifi direct, you can follow these steps:
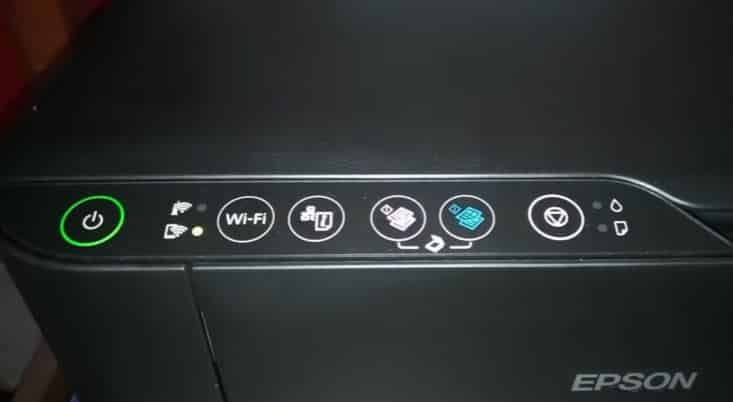
First, turn on the wireless printer and press the wifi button on the printer. It will enable the wifi direct on the printer.
Open the wifi settings on your laptop, and the printer will appear in the list of available networks. Now enter the password provided and select it.
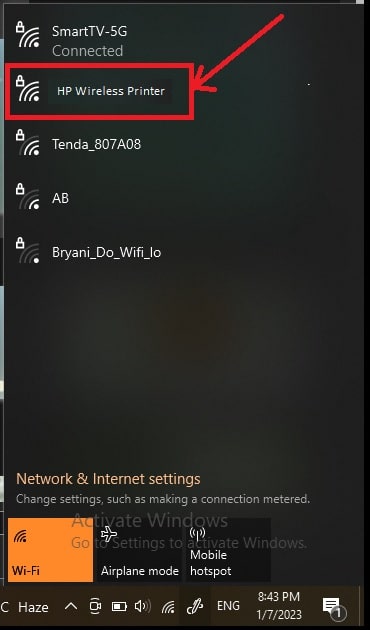
You can find the password of the printer by printing its setting.
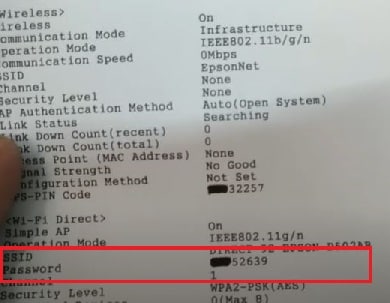
Now you will be connected to the wireless network and your laptop will detect the printer as a Wi-Fi device.
You can now easily add the printer to your laptop and start printing.
How Wireless Printer Connect Android:
To connect a smart device to the printer, you need to install the app from the app store for your printer, or you can check the manual on how to download or install the mobile app for a wireless printer.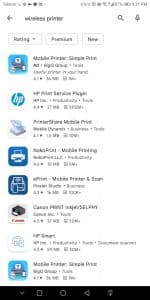
Once you have installed the app, now find and add the printer. The app will detect the printer, now select it and enter the password of wifi direct.
With your smart device connected to a wireless printer, you can print anything you like.
How to connect a wireless printer to a laptop and Other Devices as a Network Printer:
If you want to configure the wireless printer as a network printer, you can do it using two simple methods.
The most simple method is to use a ethernet cable and connect the wireless printer to your router using that cable.
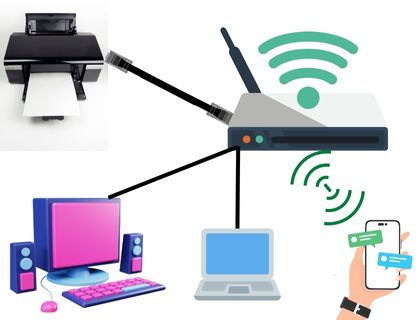
For WPS Method:
A wireless router is required for the second method to be able to use a wireless printer as a network printer. The first step is to turn on the router.
Turn on the wireless printer and find the wireless connection menu settings on your printer.
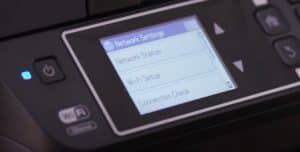
Make sure that your printer has the WPS function enabled. You can turn on the WPS connection mode on your router by pressing the WPS button on your printer.
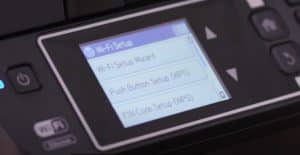
It will now search for available networks and ask you for your wifi router’s network name (SSID).
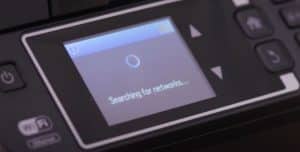
Once you will select the your wifi network it will ask for your wireless router password in order to establish the connection.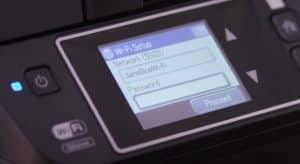
Provide the password of the wireless router. Wait for the connection to establish, usually within a few minutes.
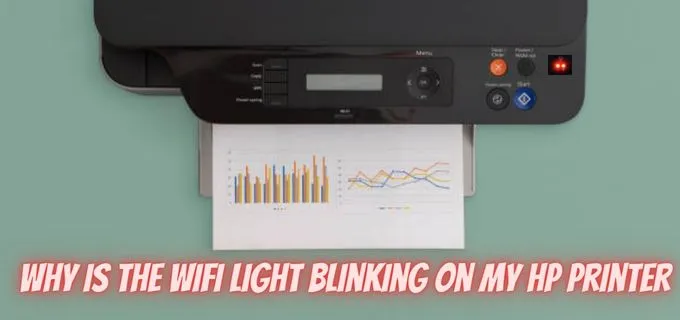
Upon connecting the printer to your laptop, the status of the printer should show as connected. It is usually indicated by a green light.
Installation of Printer Driver on Laptop:
In the next step you will need to install your printer software on your laptop. Most windows 11 supports the latest wireless printer models and you can easily set it up.
You will now need to turn on the wifi on your device or laptop and look for the wifi network on which your printer is connected so that you can connect to it.
You must select the SSID of your wifi router and enter the default password that comes with it.
The first step is to connect your laptop to the Wi-Fi network, then open the Control Panel of your laptop, and then select the ‘Devices and Printers’ option under the “Devices and Printers” section.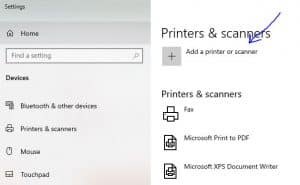
Your connected devices can be found in Devices and Printers.
Install your wifi printer by clicking on the ‘Add a Printer’ button.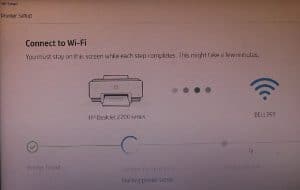
Upon completion of installation, you can begin using your printer.
How to connect touch screen wireless printer:
Touch screen wireless printer is one of the latest printers that allow you to print anything from your smartphone, laptop, or tablet.
To connect a touchscreen printer to your laptop or smartphone, you must follow the same steps mentioned above. But there are a few differences to turn on the wifi on a wireless printer.
You must press the power button and select the setting option on the touchscreen printer. Then go to wireless/wifi settings, look for wifi router SSID and enter the password.
Your router is now connected to your device. You need to install the printer driver on your laptop or smartphone.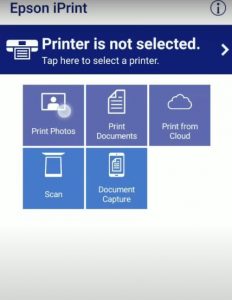
For this, open the printer settings and find the driver link, download it, and install the same on your device to connect with the wireless printer.
How add Wireless Printer to Mac
If you’re a Mac user, the setup process is slightly different. Connect your printer and Mac to the same Wi-Fi network first.
Then open up the System Preferences menu and select “Printers & Scanners”.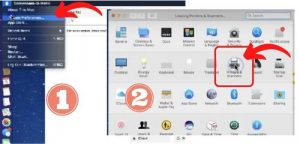
Next, click on the “+” button at the bottom of your screen to add a new printer.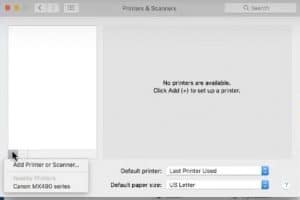
Choose your printer from the list and select “Add”.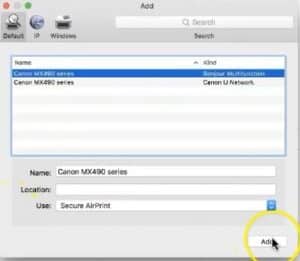
Finally, to test how well your printer is connected, go ahead and try printing something out. Your Mac should be able to connect wirelessly to the printer if everything goes smoothly.
If you are having difficulties setting up a wireless printer connection, try restarting both the laptop and printer, as this may resolve any issues with connectivity.
Conclusion:
Setting up a wireless printer can save time and energy while eliminating unnecessary wires or cables! Depending on which type of technology you use – either Wi-Fi, wifi direct or Bluetooth – there are different steps you must take to securely connect the printer to your laptop.
Mac computer with your new wifi printer device so that it runs smoothly without any issues over time. Of course, always remember that proper maintenance of all components will help keep everything running optimally over time.
I would like to thank you for taking the time to read this.

